
Setting Up My Scheduled Payments
Prerequisites
-
Flexible Payments must already be enabled for the org
-
Stored Payment Methods configured for members
-
Active scheduled, installment, or recurring payments
Step 1: Confirm Flexible Payments Are Enabled
Verify the existing Flex Pay feature is active for the org before proceeding. See Schedule Payments on the new Member Portal for more information on Flexible Payments in Member Portal.
Step 2: Add the My Scheduled Payments Component
Add the My Scheduled Payments component to the Member Portal via Experience Builder.
-
Go to the Personal Snapshot page in Experience Builder.
-
Select the tab section.
-
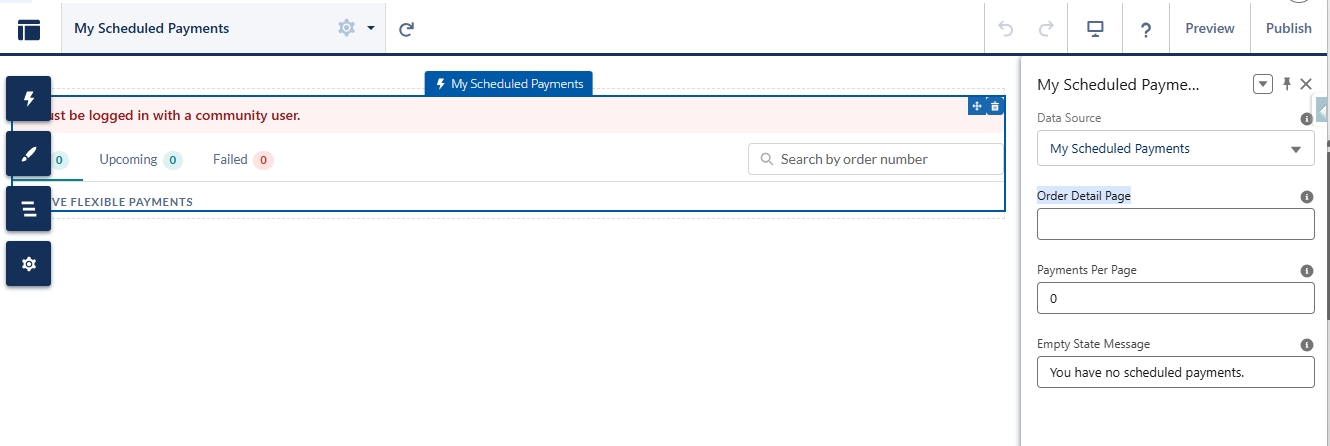
Add the My Scheduled Payments LWC to it from the Components menu.
-
Set the “Order Detail Page” API name
Step 3: Assign Permissions
Grant access to the Apex class controlling this feature to the profiles used for Member Portal access.
-
Grant access to the MyScheduledPaymentsUi Apex class controlling this feature (e.g., via Setup > Apex Classes > Security).
-
Assign access to the profiles used for Member Portal access (for example, Community Hub Login User).
Step 4: Enable Confirmation Emails
Toggle the Flexible Payment Receipt Emails feature tag (default OFF). When enabled, members receive a confirmation email after every successful flexible-payment transaction.
-
Activate the receipt tag: Setup → Custom Metadata Types → Tag → Manage Records → Flexible Payment Receipt Emails, set Is Active = true.